Self-Host Ghost Blog with Mysql and Traefik
Ghost is a very popular open-source CMS. It is a great alternative to WordPress and Substack because its easy-to-use and also has several membership options. One can easily start a blog or a membership-based newsletter with a few clicks from the Ghost admin dashboard.
There are many managed Ghost hosting providers out there which manage the hosting, backup, SMTP and other backend stuff for you. But it may not be very budget-friendly for everyone.
In this small post, we are going to self-host our Ghost blog with Mysql in Docker and reverse proxy it using Traefik.
Prerequisites
- A domain name for your blog. Try to go with
.comand make sure it's professional and suits your needs. - (Optional) An SMTP service for setting up email and newsletter. You can try Mailgun as recommended by Ghost (Not free).
- A server with Docker and Traefik installed.
Step 1: Creating Config files for Ghost
Create a directory for storing our docker-compose.yml file and create a sub-directory blog for storing Ghost configuration file as well as a directory content under blog for storing images and logging info.
mkdir -p ghost-blog/blog/content && \
  cd ghost-blog && \
  touch ./blog/config.production.json && \
  nano ./docker-compose.yml
This should be the final tree:
├── ghost-blog
│   ├── docker-compose.yml
│   └── blog
│       ├── config.production.json
│       └── content
version: '3.7'

services:
  ghost:
    image: ghost:5.2.3
    restart: always
    depends_on:
      - db
    environment:
      NODE_ENV: production
    networks:
      - default
      - web
    volumes:
      - ./blog/content:/var/lib/ghost/content
      - ./blog/config.production.json:/var/lib/ghost/config.production.json
    labels:
      - "traefik.enable=true"
      - "traefik.docker.network=web"
      - "traefik.http.routers.ghost-secure.entrypoints=websecure"
      - "traefik.http.routers.ghost-secure.rule=Host(`fossian.com`)"
      - "traefik.http.routers.ghost-secure.service=ghost-service"
      - "traefik.http.services.ghost-service.loadbalancer.server.port=2368"

  db:
    image: mysql:oracle
    restart: always
    environment:
      MYSQL_ROOT_PASSWORD: your_mysql_root_password
      MYSQL_USER: ghost
      MYSQL_PASSWORD: ghostdbpass
      MYSQL_DATABASE: ghostdb
    networks:
      - default
    volumes:
      - ./data:/var/lib/mysql

networks:
  web:
external: trueamd64 & arm64) with the tag oracle.Don't forget to change fossian.com to your domain on line 21. Also, change the database user and passwords under db service (line 29 - 32).
Now edit the main Ghost configuration file config.production.json.
nano ./blog/config.production.json {
"url": "https://fossian.com",
"server": {
"port": 2368,
"host": "0.0.0.0"
},
"database": {
"client": "mysql",
"connection": {
"host": "db",
"port": 3306,
"user": "ghost",
"password": "ghostdbpass",
"database": "ghostdb"
}
},
"mail": {
"transport": "SMTP",
"options": {
"service": "Mailgun",
"auth": {
"user": "[email protected]",
"pass": "1234567890"
}
}
},
"logging": {
"path": "/var/lib/ghost/content/logs/",
"level": "info",
"rotation": {
"enabled": true,
"count": 15,
"period": "1d"
},
"transports": ["stdout", "file"]
},
"paths": {
"contentPath": "/var/lib/ghost/content"
}
}- Change the URL on line 2 to your Ghost blog URL.
- Change the database credentials according to what you filled in
docker-compose.yml(line 12 - 14). - If you want to enable Membership and Newsletter functionality then make sure you have an SMTP server. I recommend using mailgun as it supports the bulk transfer feature. Change the SMTP credentials on lines 18 to 25 to yours.
If you don't want to enable it then simply change it as shown below.
"mail": {
    "transport": "Direct",
},
You can check out Ghost's official Configuration page for more info.
Step 2: Deploying
After setting up everything, simply use docker-compose to deploy your Ghost blog.
docker-compose up -d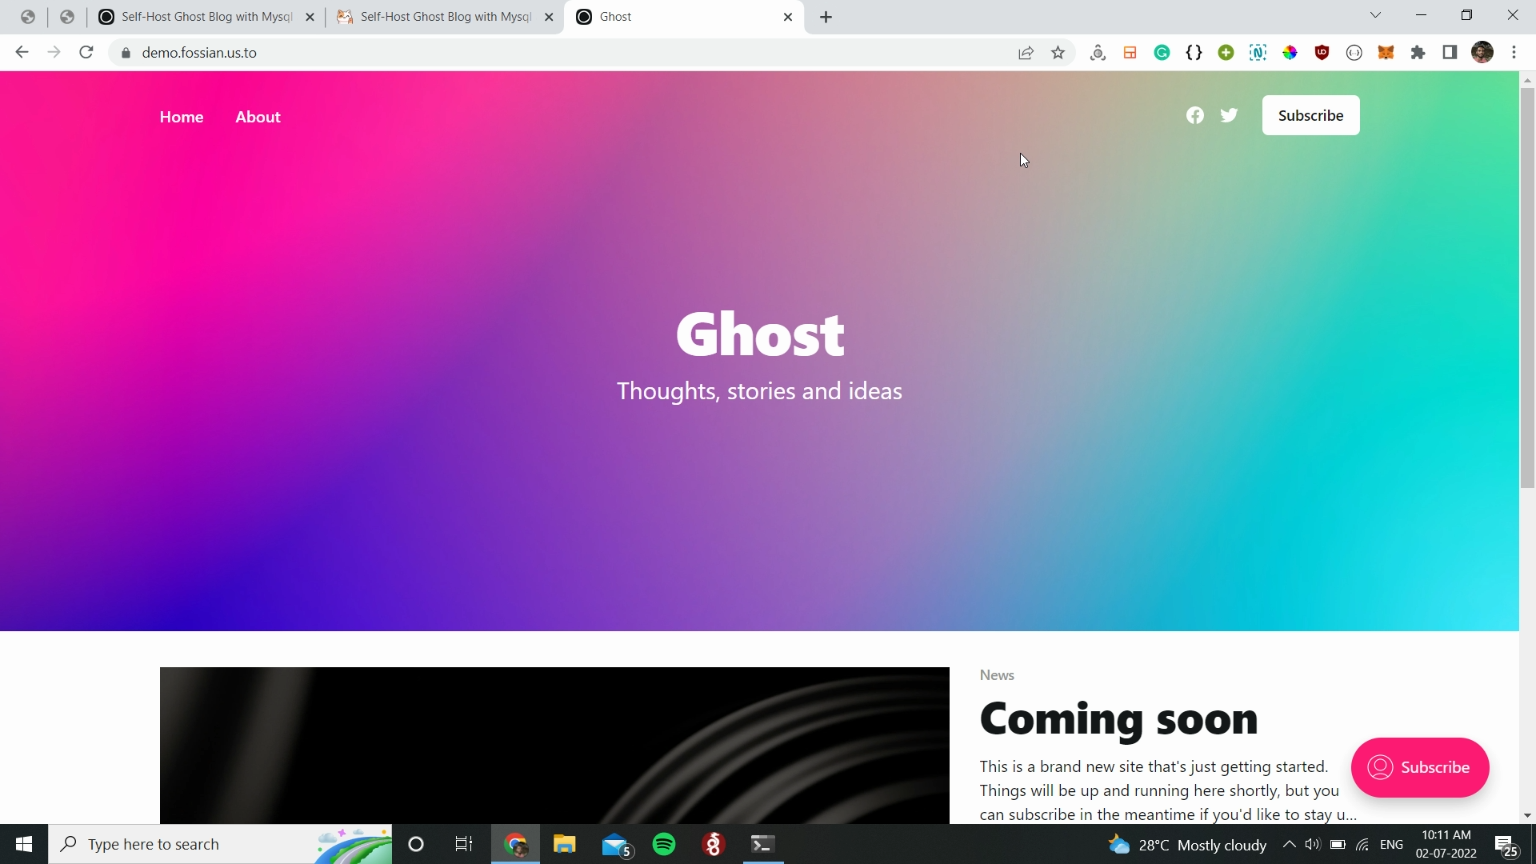
That's it! You have a fully functional Ghost blog running in Docker and proxying with Traefik. Make sure to log in to your admin dashboard at https://yourdomain.tld/ghost.
Feel free to comment below if you have any issues regarding the installation!